
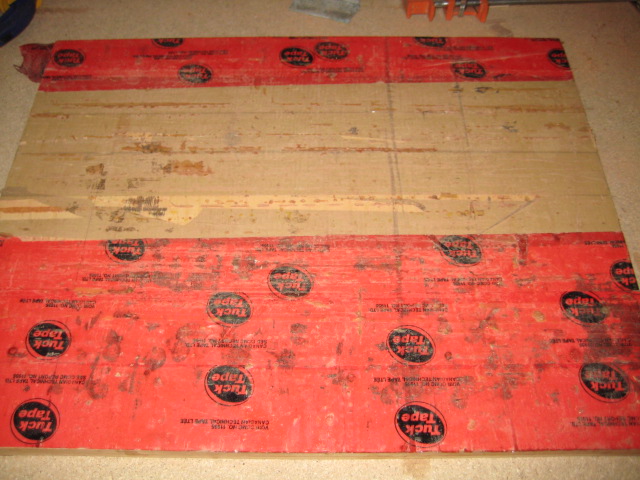
Back from a quick side trip to Toronto and back in the workshop. It is planing day for the glue-ups, but I noticed I didn't show the glueing step. This is a pic of the board I use to glue stuff together. It's a basic piece of particle board covered with packing tape. Why? Because glueing is messy and there's always glue that squeezes out. The glue won't stick to the packing tape. If I didn't use it, I would have several pieces of work permanently glued to my workbench
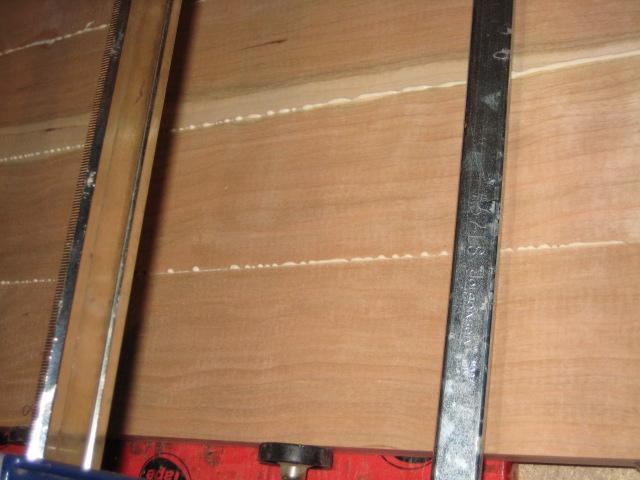
In this pic, I've just finished clamping all the boards together and you can see the excess glue squeezed out from the joints. I don't want to tighten too much as it would squeeze out too much glue which would cause a weak joint. But you do want to see some glue squeeze out which ensures the glue is uniformly spread inside and there is enough pressure to force the glue into the grain of the wood.
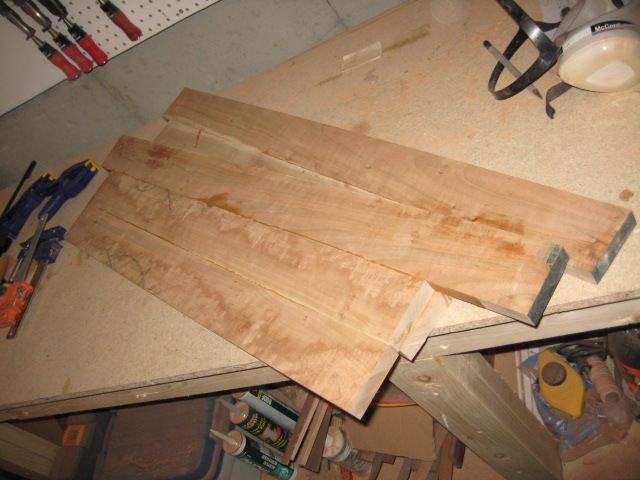
These are the glue-ups for the big board. As you can see, it's not completely glued together and is in two parts. Why? Well my planer can only take up to 13 inches wide and the finished board will be around 18 inches. So I have to make two parts, plane them down to size and then glue them together oh-so-carefully so the two parts line up exactly. Otherwise, it's almost impossible to get the joint to look attractive afterwards. The long pieces sticking out are for the handle and to absorb the snipe from the planer. You can see at the far end the excess 2 inches to absorb snipe as well.

After planing, the two boards are looking good with some nice figuring in the wood. Some sapwood is also showing (light parts).
Next, we'll glue the parts together, shape the handle, sand, and finish.
Next, we'll glue the parts together, shape the handle, sand, and finish.
 RSS Feed
