
A lot had happened with this project since the last time I posted. I cut the sides and glued it all, added corner keys and fixed the worst blemishes in the wood. Then I suddenly realized that I made a boo-boo!! I had been communicating with my client's friend Ed who sent me measurements of his own flag box. I realized that I'd used the inside measurements from the front of Ed's box. The front has a lip which keeps in the glass. What I needed were the measurements for the opening in the back. That means that my box was at least an inch too small all around! I tested with my own flag and thankfully, it fits. The back of the flag had to be finagled a bit and won't look all that great, but that's hidden in the box. Today is final sanding and first coat of finish.
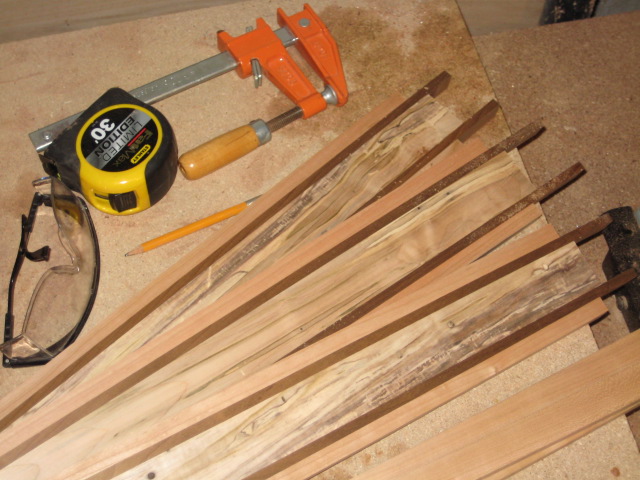 About time I posted an update. This photo was taken yesterday and shows the three sides of the box planed to the right thickness. The spalted maple turned out to be very nice, but some pores need to be filled. Also, bottom right, are the three thin cherry pieces that will form the front molding of the box that will keep the glass in place. What you also can't see is the 3/16" groove that I've cut along the back side of all thee sides that will hold the back cover in place.
Currently, the pieces are in the clamps again with the front molding being glued to the sides. The next step is figuring out how to cut the 22 1/2 degree angles that will form the bottom of the triangle. I'll have to do a lot of test cuts as the original pieces can only be cut once. |
ABOUT ME...I like to post what's going on in my workshop and with crafts shows. Archives
November 2016
Categories |
 RSS Feed
